

Description:
This article explains how to create and set up the Gala Web3 Wallet Extension for use on GalaChain.
Purpose:
The Gala Web3 Wallet enables users to securely send and receive GalaChain tokens anytime, anywhere, providing seamless access to digital transactions on the go. This guide walks you through the setup process to ensure a smooth and hassle-free experience.
Assumptions made:
This article assumes the reader understands the information in the following article:
How to create and connect an Accountless GalaChain Wallet using a Web3 Wallet
What is a client| and eth| Wallet Address in the GalaChain Ecosystem
How to import an existing Gala Games account into the Gala Wallet Application
How to import an existing wallet seed phrase into the Gala Wallet Application
Where To Get GALA
Step 1: Install the Gala Web3 Wallet from the Google Chrome store.
- You can download the wallet here: Install Gala Web3 Wallet Extension [GalaChain]
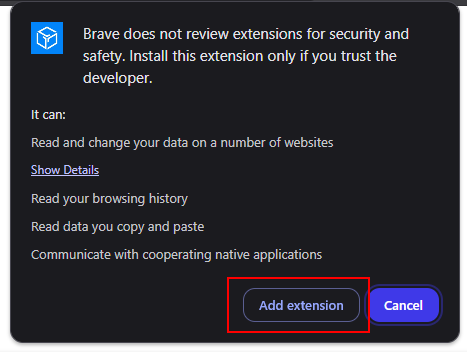
- Click on "Add to Chrome" or your preferred chromium based browser. In this example we will be using Brave browser.
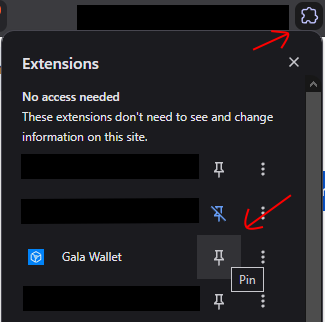
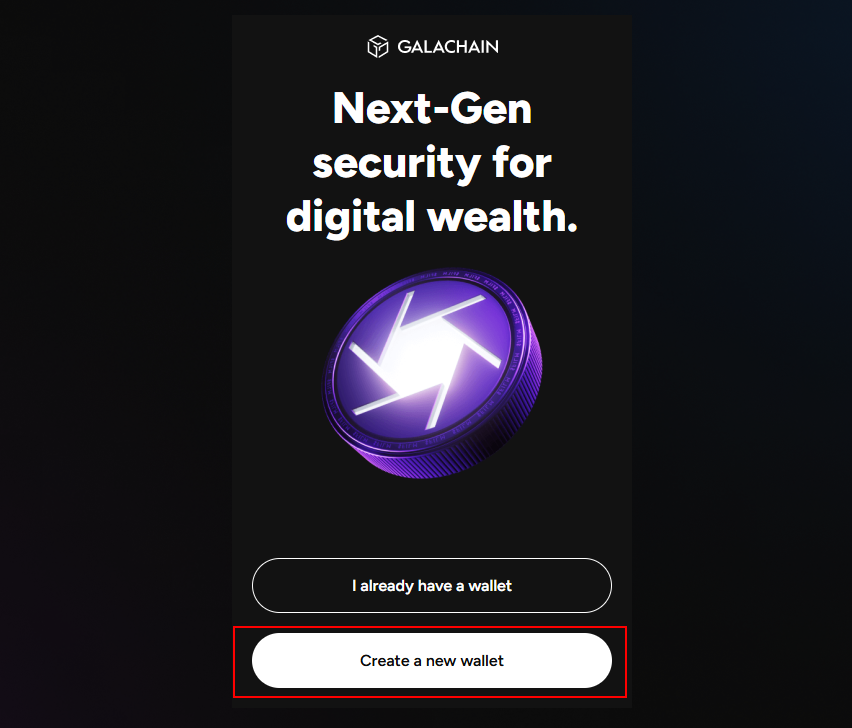
Step 2: Open up the wallet from your browser extensions and choose to either Create a new wallet or Import an existing wallet.
Step 3: Review the Terms & Conditions and choose a name for your wallet.
Step 4: Choose a strong password and then continue to save your Seed Phrase.
WARNING: If you choose not to write down your seed phrase and store it somewhere safe, you will be at risk at losing access to recover your wallet. The seed phrase is the master key to recovering and accessing your wallet. Do NOT share this with anyone, not even Gala employees or support. We will NEVER ask you for this.